今回のWikiはmedia wikiのインスコの備忘録
また、インスコするバージョンは1.24.1の安定バージョン
media wikiはデーターベースでの運用なので記事が増えてきてもアクセスが遅くなることはないと思われる
普段はpukiwikiを設置することが多いのだがpukiwikiは比較的簡単に設置できるのでpukiwikiは気が向いたら記事に残そうと思う
準備するもの
ドメインの設定
わしはさくらのドメインをすでに取得してるのでサブドメインの設定するだけでおk
Apacheの設定
わしはLAMP鯖なのでApacheを使用している
ドメインを設定してもApacheのほうでも設定してないと意味がないので設定する
Apacheのディレクトリに移動する
/etc/apache2/sites-enabled |
わしの環境ではこのようになっている
適当でもいいので、一例として「001-好きな名前.conf」と保存して、以下の文をコピペする
<VirtualHost *:80>
# The ServerName directive sets the request scheme, hostname and port that
# the server uses to identify itself. This is used when creating
# redirection URLs. In the context of virtual hosts, the ServerName
# specifies what hostname must appear in the request's Host: header to
# match this virtual host. For the default virtual host (this file) this
# value is not decisive as it is used as a last resort host regardless.
# However, you must set it for any further virtual host explicitly.
ServerName ドメイン名ServerAdmin webmaster@localhost
DocumentRoot /var/www/設置するWiki名/# Available loglevels: trace8, ..., trace1, debug, info, notice, warn,
# error, crit, alert, emerg.
# It is also possible to configure the loglevel for particular
# modules, e.g.
#LogLevel info ssl:warnErrorLog ${APACHE_LOG_DIR}/error.log
CustomLog ${APACHE_LOG_DIR}/access.log combined# For most configuration files from conf-available/, which are
# enabled or disabled at a global level, it is possible to
# include a line for only one particular virtual host. For example the
# following line enables the CGI configuration for this host only
# after it has been globally disabled with "a2disconf".
#Include conf-available/serve-cgi-bin.conf
</VirtualHost># vim: syntax=apache ts=4 sw=4 sts=4 sr noet
保存したら、Apacheの再起してあげる
[bash]
/etc/init.d/apache2 restart
[/bash]
これでさくらで設定した、ドメインを動かすことが出来るようにしたので安心
データーベースの設定
SSHなどに繋いでデーターベースの設定をする
[bash]
mysql -u root -p
[/bash]
パスを要求されるので最初に設定したパスを入力する
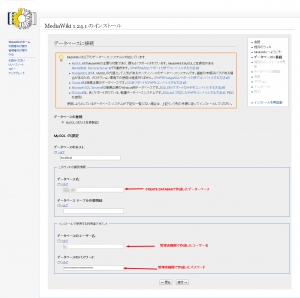
次にwiki用のデーターベースを作成する
[bash]CREATE DATABASE hogehoge;←一例[/bash]
これでデーターベースができた
最後に管理者権限の設定をする
[bash]grant all privileges on hogehoge.* to 自分の好きなユーザー名@localhost identified by '自分の好きなパス';[/bash]
これで権限の設定は終了
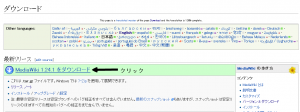
media wikiのDL
解凍してFTPファイルアップローダーなどのソフト利用して鯖にファイルをアップロードしてあげる
わしはwinSCPを使っているのでそれを使ってアップロードする
DLしてアップロードしたらディレクトリを作成し、そこにブチ込む
ぶち込んだ後はグループと権限の設定する
[bash]
chmod -R 755 /var/www/作成したディレクトリ/
chown -R www-data:www-data /var/www/作成したディレクトリ/
[/bash]
これで権限とグループ分ができた
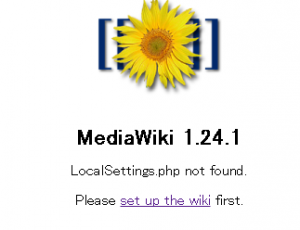
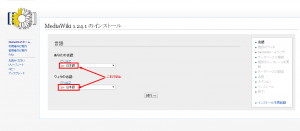
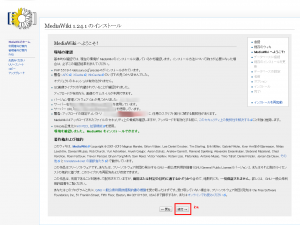
いざmedia wikiをインスコする
http://取得してきたサブドメイン


